Mastering Webflow Animations: A Guide to GSAP, Spline, Rive & Beyond

Hey there, fellow Webflow enthusiasts! If you're like me, you probably geek out over the endless possibilities that Webflow offers for creating stunning websites. One of my favorite aspects? Animations. They can transform a static page into a dynamic, engaging experience that keeps users coming back for more. Today, I want to dive deep into the world of Webflow animations, specifically focusing on GSAP, Spline, Rive, and other cool tools that can elevate your design game. So, grab a cup of coffee (or tea, if that’s your thing), and let’s get started!
Why Animations Matter :
Before we jump into the nitty-gritty, let’s talk about why animations are so important. Think about the last time you visited a website that had smooth transitions, interactive elements, and eye-catching effects. It probably left a lasting impression, right? Animations can guide users through your content, highlight important features, and make the overall experience more enjoyable.
Getting Started with Webflow Animations :

Webflow is fantastic for those who want to create sophisticated animations without diving into code. The platform offers built-in tools like interactions and animations that are pretty robust on their own. But, for those of us who want to push the boundaries, integrating external libraries like GSAP, Spline, and Rive can take our projects to the next level.
GSAP : The GreenSock Animation Platform :
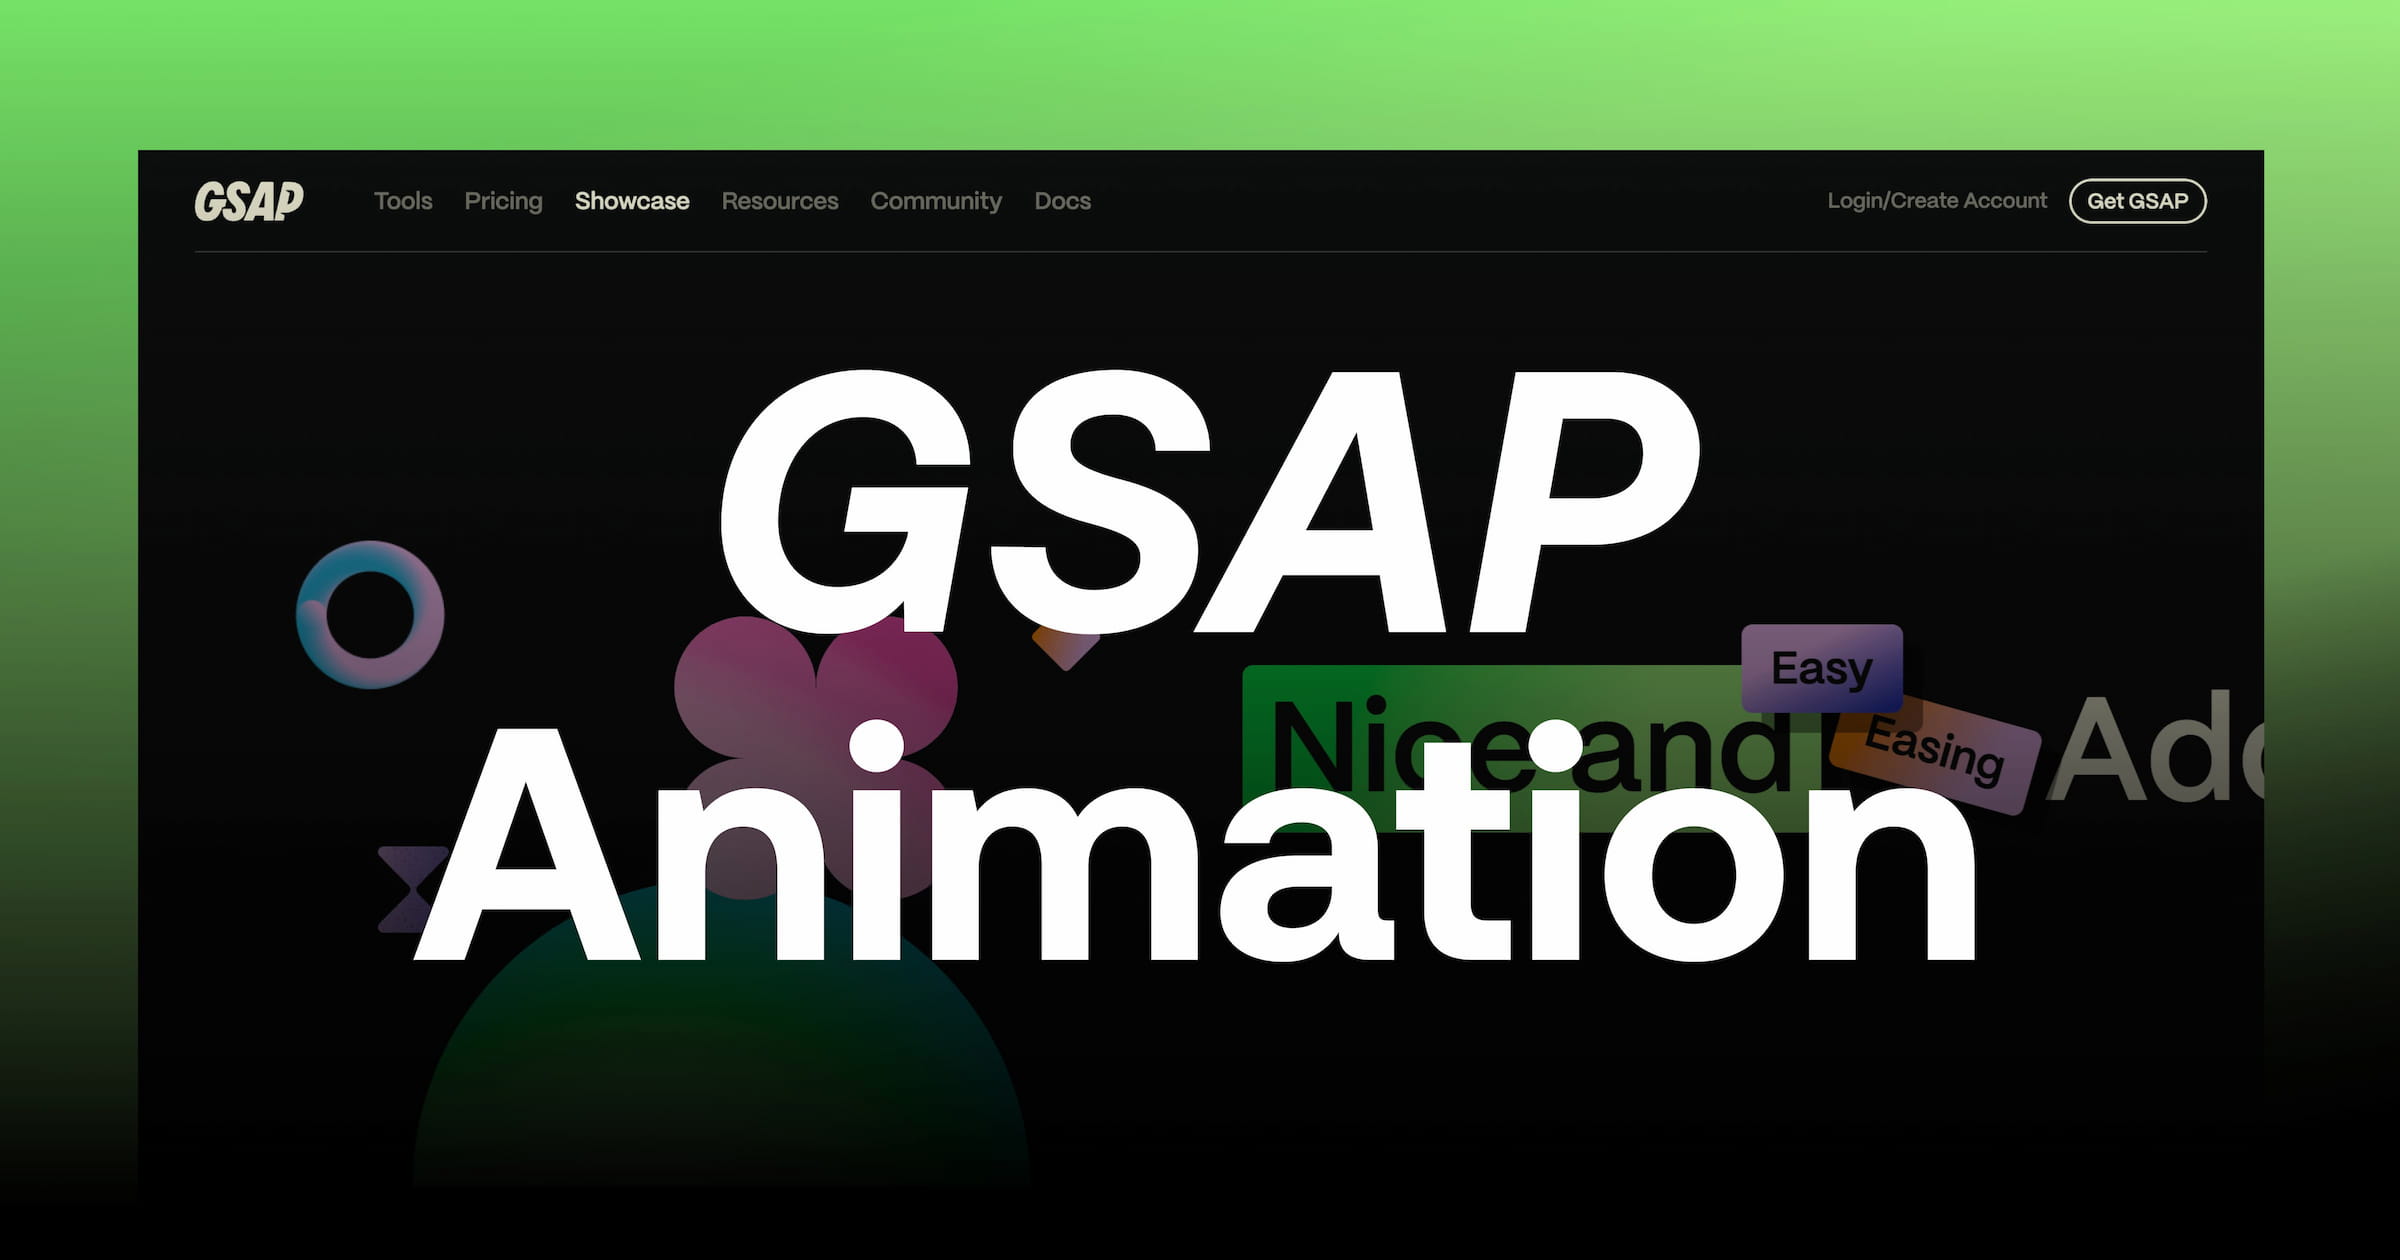
GSAP (GreenSock Animation Platform) is a powerhouse when it comes to creating high-performance animations. It’s widely used by professionals because of its flexibility and ease of use.
1. Why I Love GSAP

- Performance: GSAP is known for its efficiency. Animations are smooth and can handle complex sequences without bogging down performance.
- Ease of Use: The syntax is intuitive, making it easy to pick up even if you're not a coding wizard.
- Versatility: Whether you’re animating SVGs, text, or other DOM elements, GSAP has you covered.
2. How to Integrate GSAP with Webflow
First things first, you need to include the GSAP library in your Webflow project. Here’s how you do it:
- Add GSAP via CDN: Go to your Webflow project settings, head over to the “Custom Code” section, and paste the following script in the <head> tag:

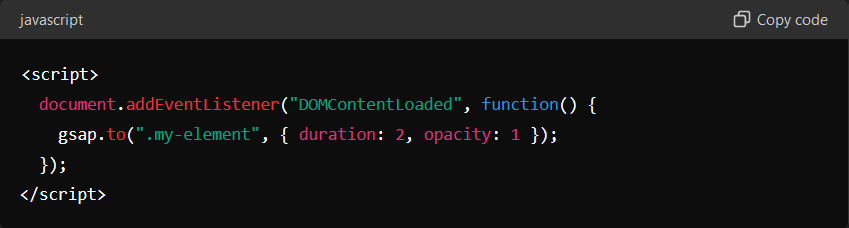
- Creating Your First Animation: Once you’ve added GSAP, you can start animating elements. Here’s a simple example to fade in an element:
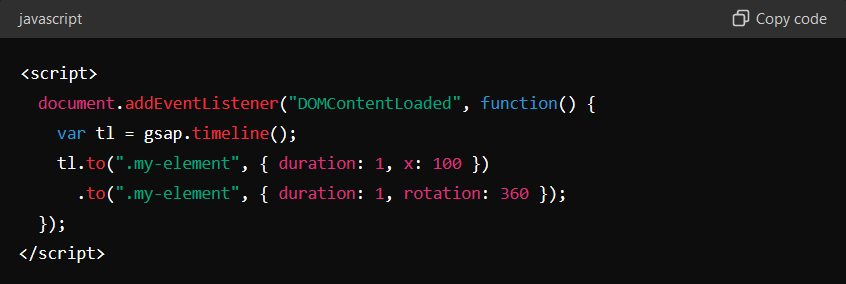
- Advanced Animations: GSAP shines with more complex animations. You can create timelines, stagger animations, and much more. Here’s an example of a sequence:
Exploring Spline for 3D Animations :
Now, let’s talk about Spline. If you’re looking to add 3D elements and animations to your Webflow site, Spline is a fantastic tool. It allows you to create and export 3D models and animations with ease.
1. Why Spline is a Game Changer
- User-Friendly Interface: Spline’s interface is intuitive, even if you’re not a 3D modeling expert.
- Real-Time Collaboration: You can work with your team in real-time, making it easier to collaborate on projects.
- Seamless Integration: Export your models and animations and easily integrate them into your Webflow site.
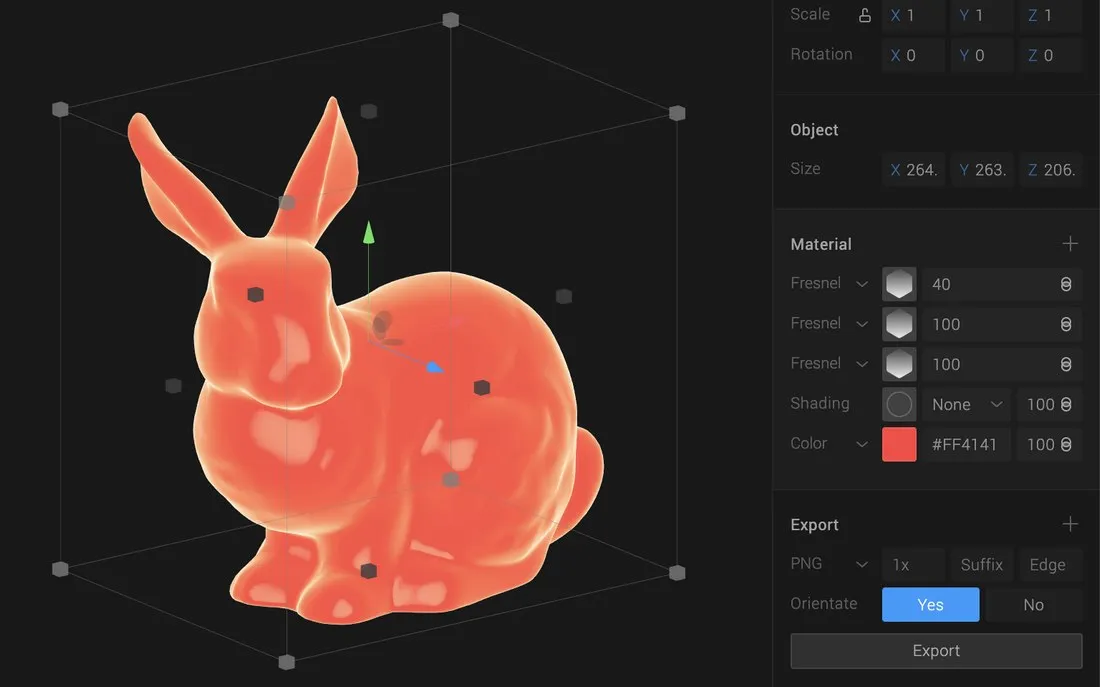
2. Integrating Spline with Webflow
Here’s how you can bring your Spline creations into Webflow:
- Create and Export: Design your 3D model or animation in Spline. Once you’re happy with it, export it as a WebGL or embed code.
- Embed in Webflow: Go to your Webflow project, add an Embed element, and paste the Spline embed code. Adjust the dimensions and positioning as needed.
Rive: Interactive Animations Made Easy :
Rive is another incredible tool that’s perfect for creating interactive animations. Unlike traditional animations that run on a loop, Rive allows you to create animations that respond to user interactions.
1. Why I’m Excited About Rive

- Interactivity: Create animations that respond to clicks, hovers, and other user actions.
- Real-Time Editing: Make changes on the fly and see them in real-time.
- Cross-Platform: Rive animations work seamlessly across web, mobile, and other platforms.
2. Using Rive with Webflow
.jpg)
Here’s a quick guide to getting your Rive animations into Webflow:
- Design in Rive: Create your animation in the Rive editor. Play around with the state machine to add interactivity.
- Export and Embed: Once your animation is ready, export it as an HTML embed code.
- Add to Webflow: Just like with Spline, use the Embed element in Webflow to add your Rive animation. Paste the embed code and adjust as necessary.
Beyond GSAP, Spline, and Rive :

While GSAP, Spline, and Rive are my go-to tools, there are other great options out there for enhancing your Webflow animations.
Lottie
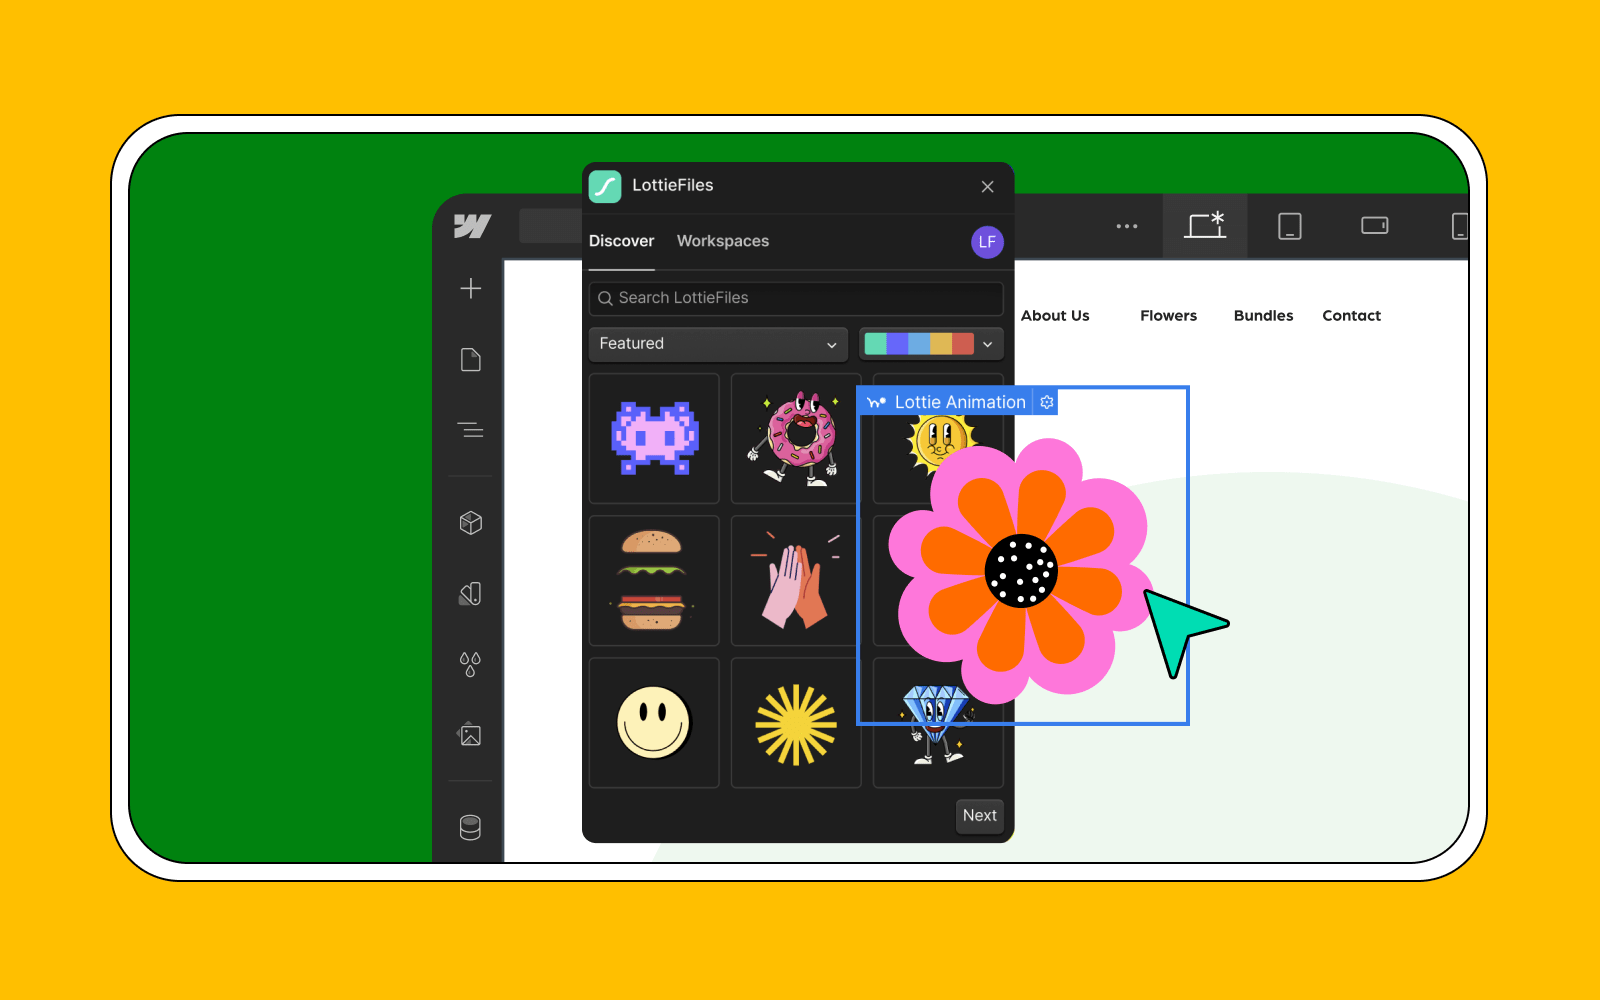
Lottie is fantastic for integrating high-quality animations created in After Effects. With the Bodymovin plugin, you can export your animations as JSON files and easily embed them into Webflow.
- Create in After Effects: Design your animation and use the Bodymovin plugin to export it.
- Embed in Webflow: Use the Lottie element in Webflow to upload and place your animation.
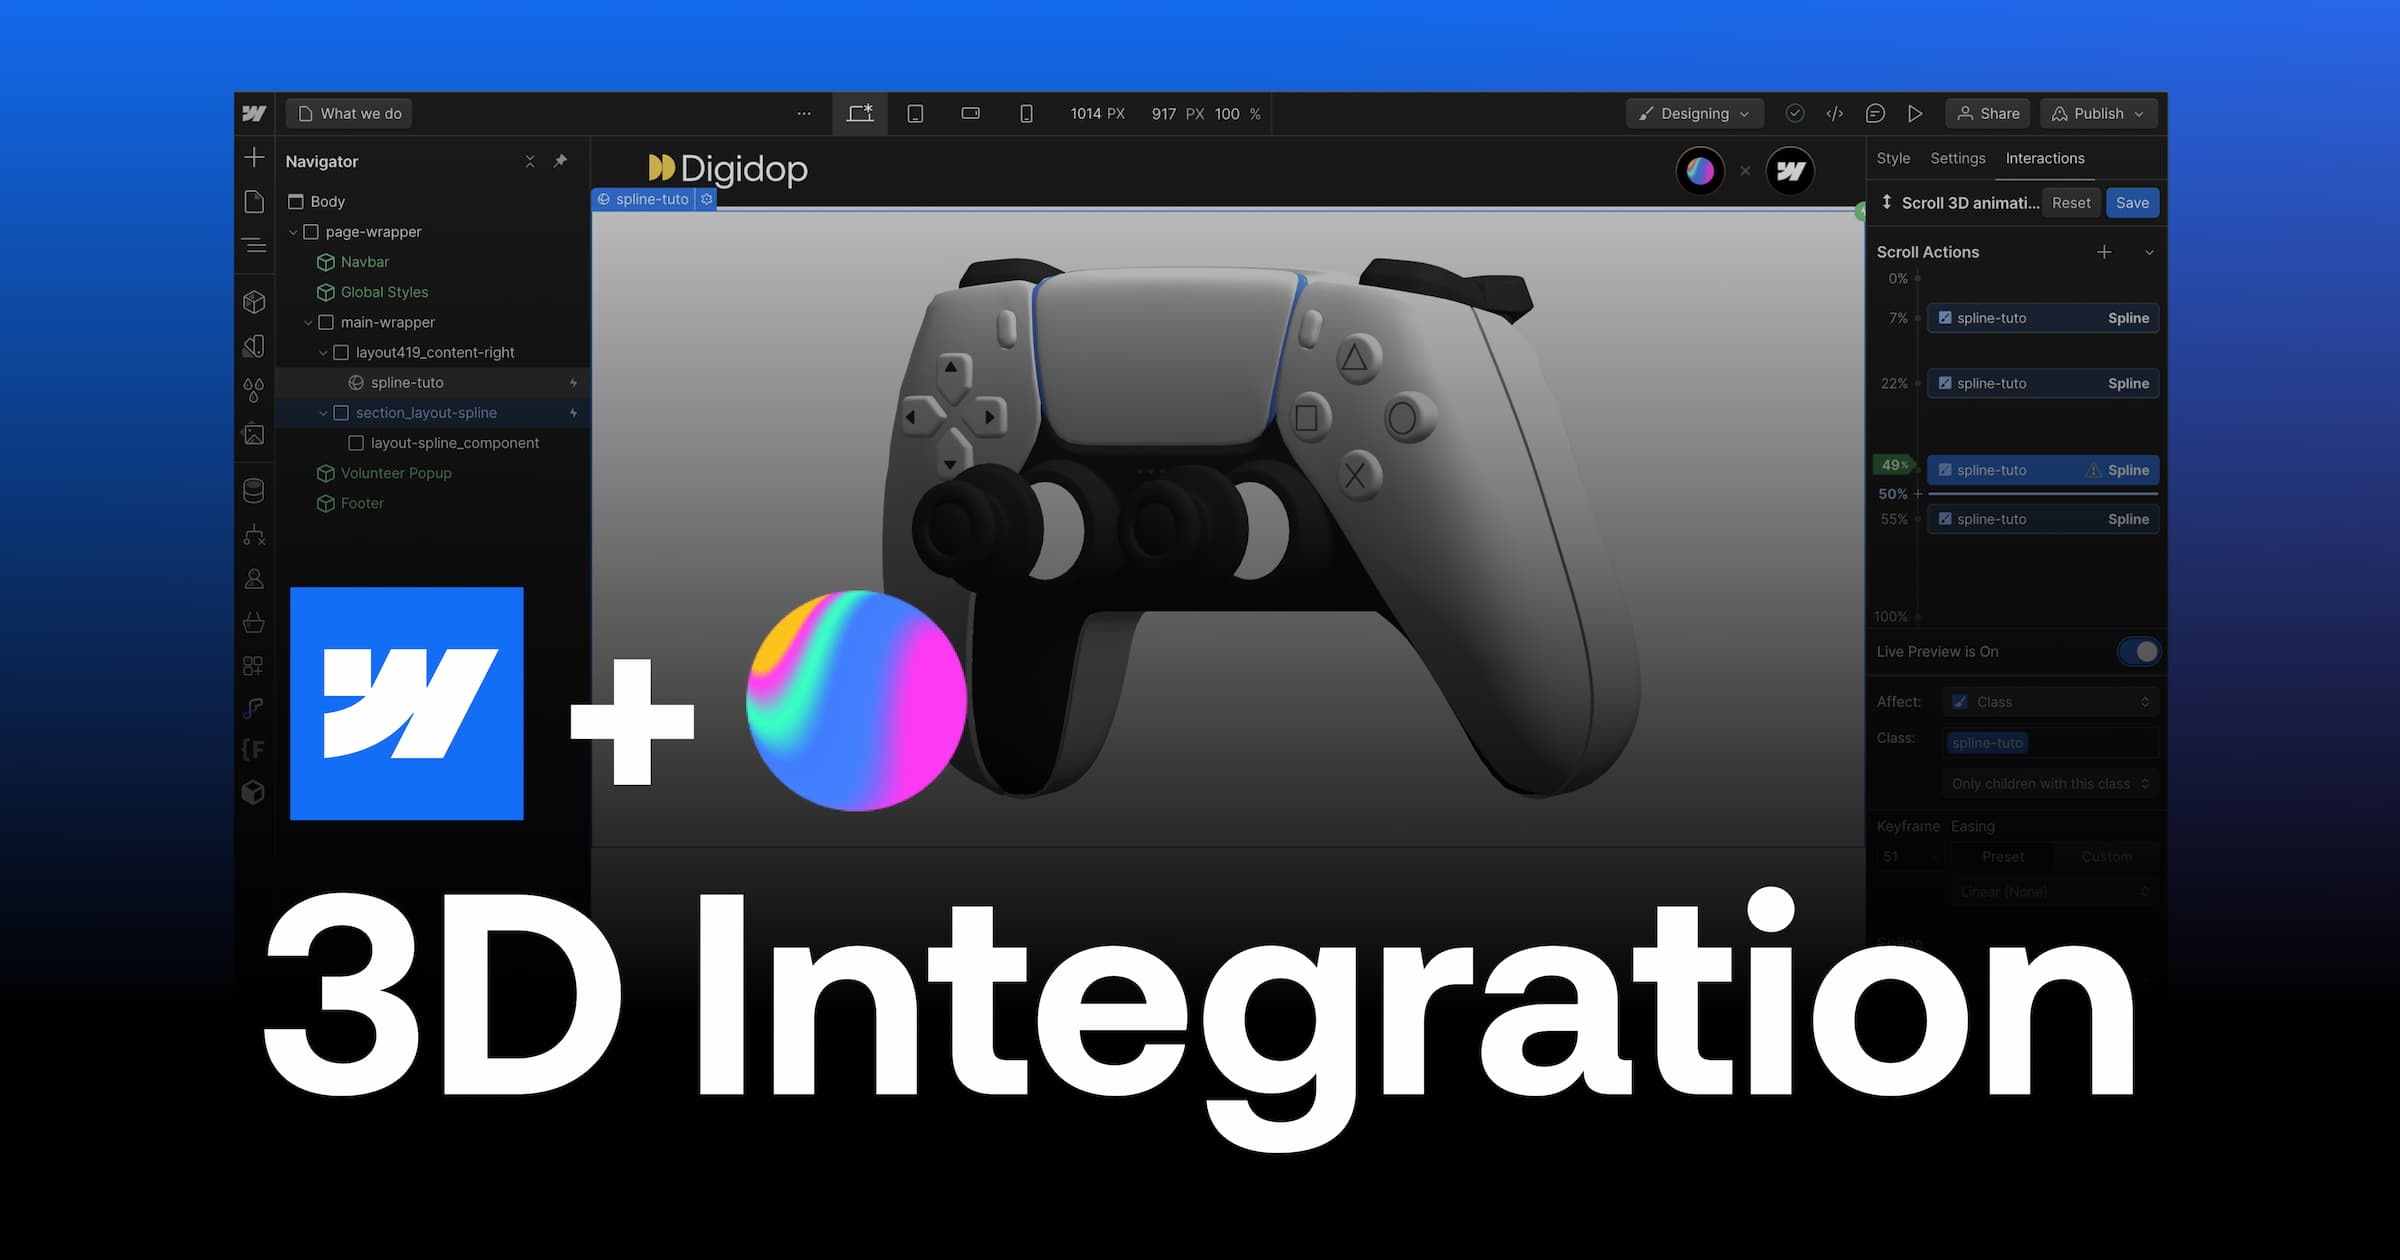
ScrollMagic
.jpg)
ScrollMagic is perfect for creating scroll-based animations. It allows you to trigger animations based on the user’s scroll position, creating a dynamic and engaging experience.
- Include ScrollMagic Library: Add the ScrollMagic library via CDN in your Webflow project settings.
- Create Scroll Animations: Use ScrollMagic’s API to create scroll-triggered animations.
Tips and Best Practices :

Before we wrap up, here are a few tips to keep in mind when working with animations:
- Don’t Overdo It: While animations can be awesome, too many can overwhelm users. Use them strategically to highlight important elements.
- Test Performance: Make sure your animations are smooth and don’t negatively impact page load times.
- Keep it Accessible: Ensure that your animations don’t hinder accessibility. Provide alternatives for users who may have motion sensitivity.
Conclusion :

Mastering Webflow animations is a journey, and the tools we’ve discussed—GSAP, Spline, Rive, and others—can significantly enhance your projects. Whether you’re looking to create simple fades or complex interactive experiences, these tools have got you covered. So, dive in, experiment, and most importantly, have fun with it! If you have any questions or want to share your creations, feel free to reach out. Let’s keep pushing the boundaries of what’s possible with Webflow!
Happy animating, folks!
Need any help with your website? we are here to help you out.
Schedule a free call.webp)

Increase Your Website’s Conversion Rate: 8 Proven Tactics That Work

The Future of Websites: What AI Actually Means For Your Projects